Table of Contents
What Is Multiband Processing?
Multiband processing is the technique of splitting a sound into separate frequency bands—typically lows, mids, and highs—and applying different effects to each one. This gives precise control over tone, dynamics, and movement without affecting the entire signal.
In Ableton Live, this method can be achieved using only stock devices. No third-party tools are needed, although a few free plugins can extend the possibilities.
Step-by-Step Setup in Ableton Live
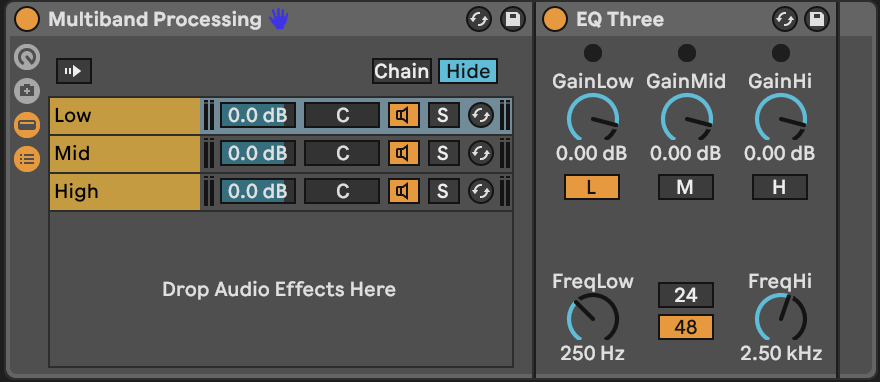
The example begins with a basic violin loop. The sound is routed into three parallel chains using EQ Three.
Each band is isolated:
- Lows: 0–250 Hz
- Mids: 250–2500 Hz
- Highs: 2500 Hz and above
This approach allows each band to be shaped independently with targeted processing.
Processing Each Frequency Band
Lows – Saturation and Drive
Amp (Ableton stock) is used to add harmonic distortion to the low end. The Rock M Type setting gives it weight without overdriving the mix. Utility is added to collapse the bass to mono and fix phase issues, ensuring clarity and punch.
Mids – Resonance and Movement
Corpus is inserted on the mid band with a Pipe resonance type. LFO modulation is used to create tonal movement synced to the project tempo. This adds a resonant, textural quality to the sound, creating complexity without clutter.
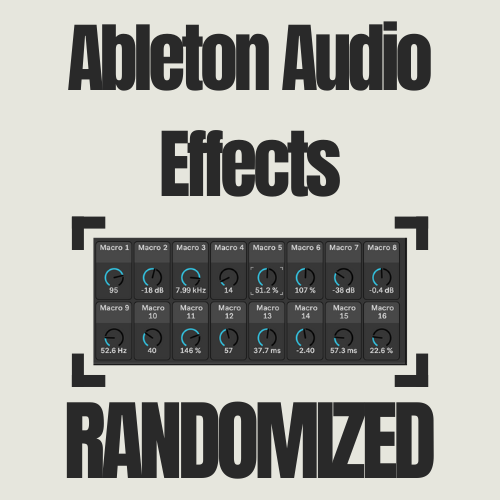
Highs – Controlled Randomization
The highs are routed into a randomized FX rack made entirely from Ableton stock devices. Parameters are mapped to a macro knob with randomization enabled, producing different textures with each trigger. This introduces subtle unpredictability while staying musical.
Additional Enhancements
Volume Shaping with Auto Pan
Auto Pan is repurposed as a volume shaper by setting its waveform to triangle and adjusting the phase. This creates rhythmic pulsing without any traditional panning movement. It’s synced to 1/6 notes for a percussive feel.Layering and Pitch Shifting
The mid band is duplicated and transposed using Shifter. One layer is shifted by -12 semitones and another by -24 semitones. These layers are processed separately and recombined, generating a deeper, detuned texture. This is balanced using Utility and gain staging.Drums and Loop Examples
To demonstrate how flexible multiband processing is, the same method is applied to drums and loops:- Drums: Low band gets overdrive and volume shaping. Mids use Valhalla Supermassive for wide, groovy delays. Highs are enhanced with Chow Tape Module.
- Loops: Complex FX chains with Corpus, Auto Pan, Drum Buss, erosion, and random panning create evolving, animated sound layers.